
A Step-by-Step Guide Converting Files to CMYK in Adobe Photoshop
A Step-by-Step Guide Converting Files to CMYK in Adobe Photoshop – Embarking on a print project requires more than just artistic flair; it demands technical precision, especially when it comes to color. Adobe Photoshop, a design powerhouse, offers a seamless process for converting files to CMYK – a crucial step for accurate print reproduction. In this comprehensive guide, we’ll walk you through the steps to effortlessly transition your digital masterpiece from RGB to CMYK, ensuring your colors shine on paper just as they do on your screen.
A Step-by-Step Guide Converting Files to CMYK in Adobe Photoshop
CMYK is short for Cyan, Magenta, Yellow and Black the colors used for printing.
Step 1: Open Your File in Adobe Photoshop
Launch Adobe Photoshop and open the file you’re ready to transform into a print-ready masterpiece. If your image is already open, proceed to the next step.
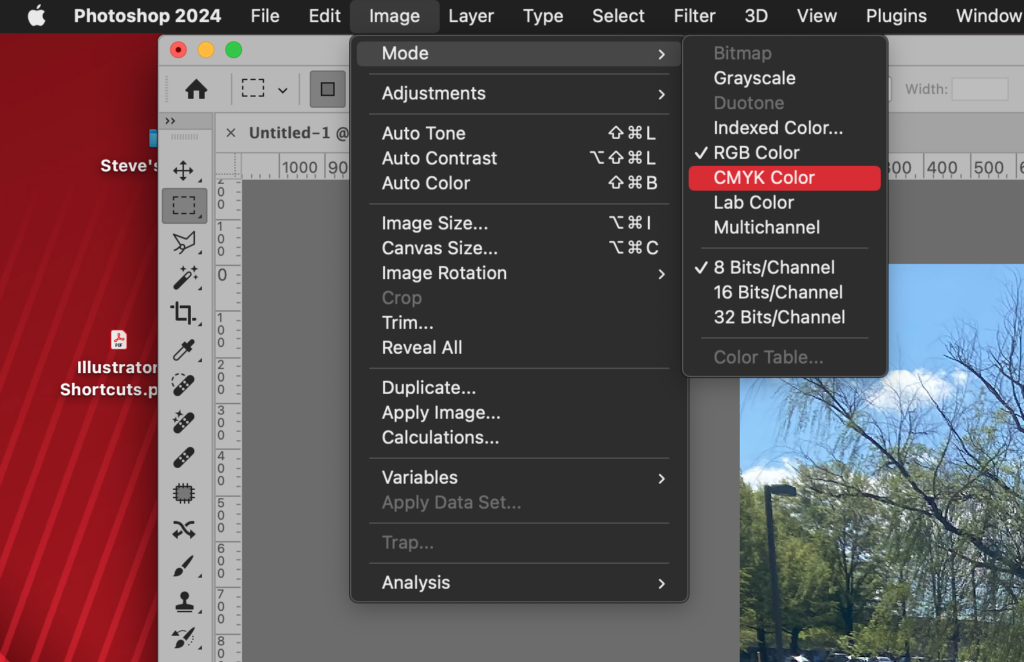
Step 2: Verify Color Mode
Navigate to the “Image” menu and select “Mode.” Confirm that your image is currently in RGB mode. If it is, proceed to the next step. If not, you may need to convert it from a different color mode.
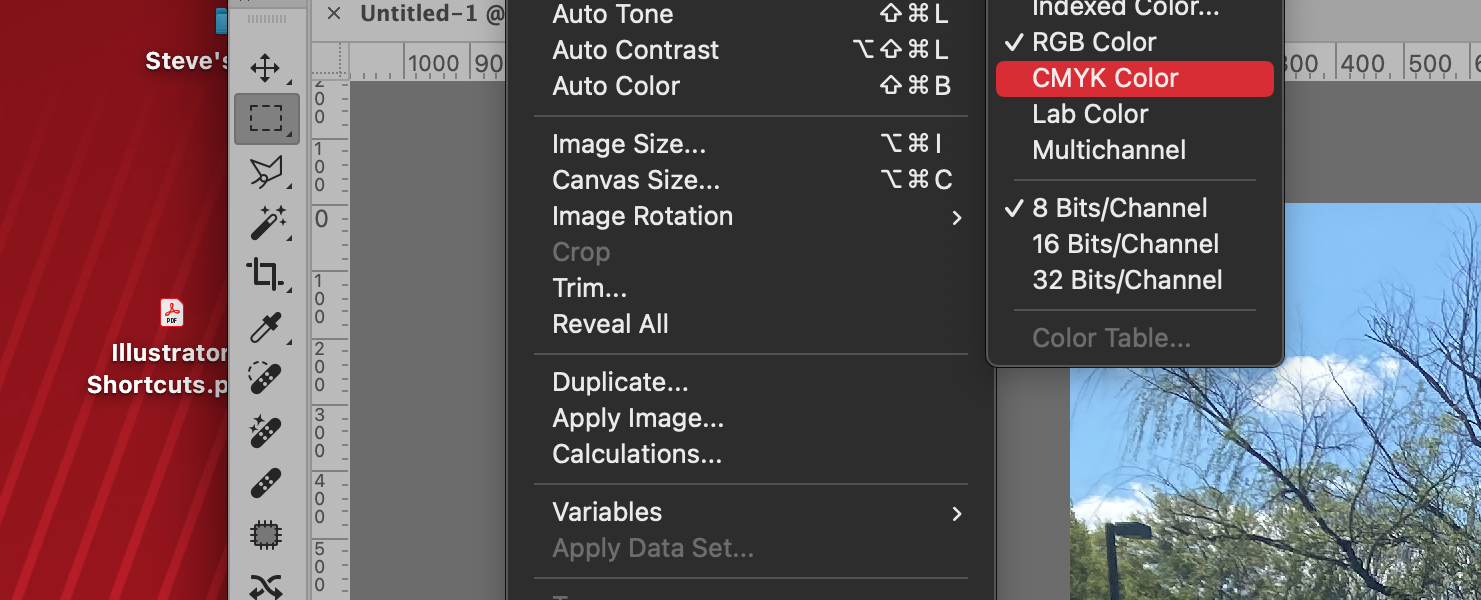
Step 3: Convert to CMYK
Returning to the “Image” menu, select “Mode” once again. This time, opt for “CMYK Color.” A dialog box may appear, prompting you to flatten or merge layers. Choose the option that aligns with your preferences – merging layers is often a safer choice if you wish to retain some editability.
Step 4: Select a CMYK Color Profile
Upon conversion, Photoshop may prompt you to choose a CMYK color profile. Popular profiles include “U.S. Web Coated (SWOP) v2” and “Coated FOGRA39” Or select the profile that aligns with your print specifications or consult your print provider for recommendations.
Step 5: Inspect and Adjust
Post-conversion, scrutinize your image for any unexpected color shifts. Some colors may look different in CMYK compared to RGB due to the inherent limitations of the CMYK color space. Make necessary adjustments to ensure your design retains its intended vibrancy and visual impact.
Step 6: Save Smartly
Once satisfied with the conversion and adjustments, save your file in a print-friendly format such as TIFF or PSD. If future edits are on the horizon, be sure to preserve layers by choosing an appropriate file format.
Conclusion:
Mastering the art of file conversion is a vital skill for any designer or photographer venturing into the world of print. Adobe Photoshop’s intuitive interface coupled with these step-by-step instructions ensures that your transition from RGB to CMYK is not only smooth but also enhances the visual integrity of your work in the print realm. Take the plunge into the world of precise color reproduction and elevate your print projects to new heights.
Contact SteveZ DesignZ for your graphic design needs! Make sure you also subscribe to learn more about Graphic Design and Printing along with terms, being a designer and much more!
Follow SteveZ DesignZ on Social Media!
Subscribe To The Graphic Design Blog!
Follow SteveZ DesignZ on WordPress.comDon’t miss a blog post about graphic design. Subscribe today!
Recent Feed of All of Steve’s Blogs